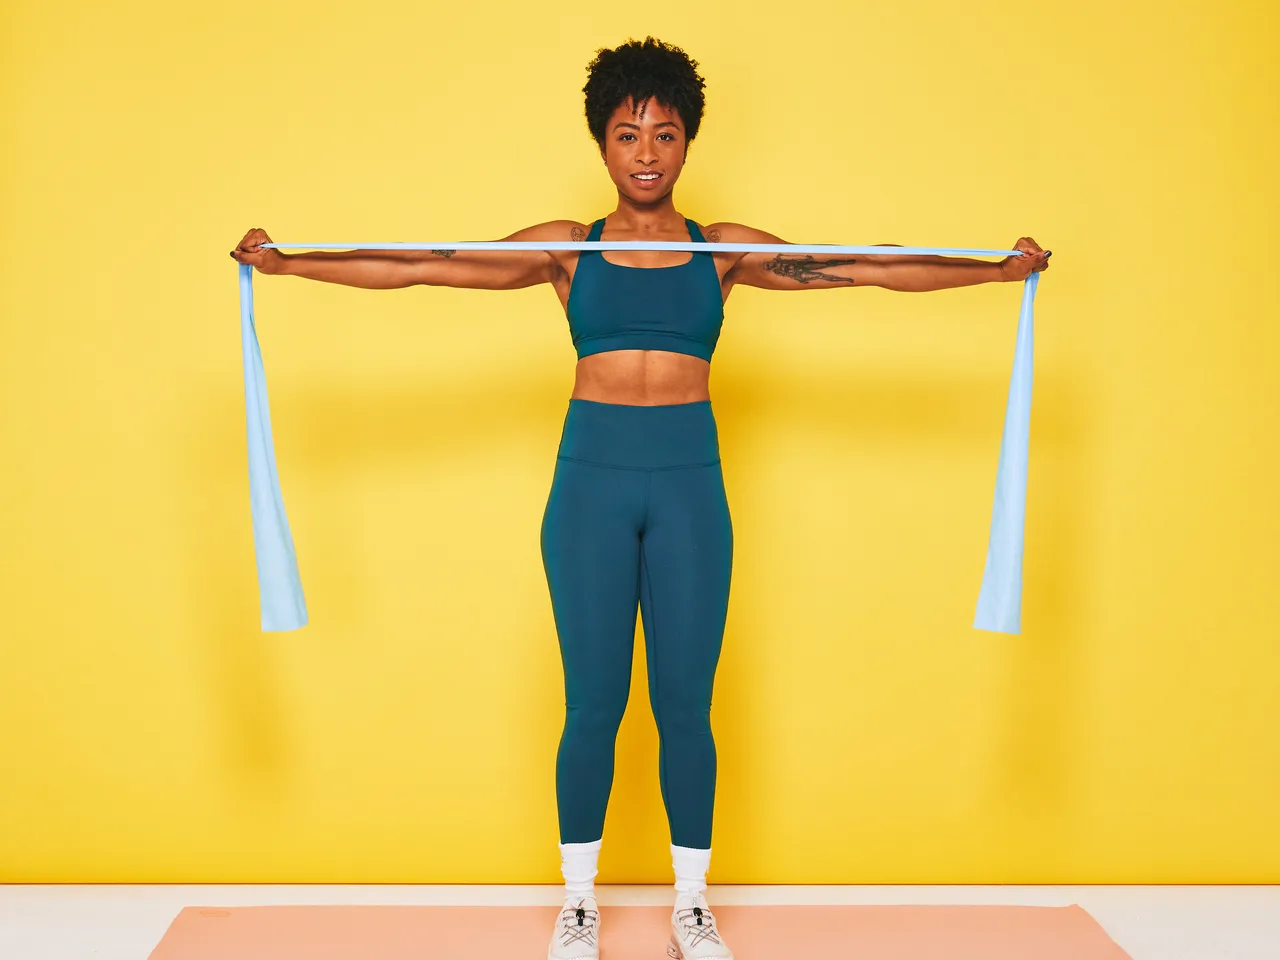
Hey there, fitness enthusiast! Are you looking to sculpt stronger legs, boost your glutes, and enhance overall lower body power without needing a full gym setup? Then you’re in the right place! Thigh resistance bands are often hailed as the secret weapon for unlocking incredible lower body strength and definition. These versatile, compact tools can revolutionize your workouts, whether you’re a seasoned athlete or just starting your fitness journey. Forget bulky weights and complicated machines; it’s time to discover how these humble bands can deliver mighty results for your thighs and beyond.
|
Our Picks for the Best Resistance Bands in 2026
As an Amazon Associate I earn from qualifying purchases.
|
||
| Num | Product | Action |
|---|---|---|
| 1 | VEICK Resistance Bands, Exercise Bands, Workout Bands, Resistance Bands for Working Out with Handles for Men and Women, Exercising Bands for Fitness Weights Work Out at Home |

|
| 2 | SUNPOW Pull Up Assistance Bands - Set of 5 Resistance Heavy Duty Workout Exercise Stretch Fitness Bands Assist Set for Body, Instruction Guide and Carry Bag Included |
|
| 3 | Resistance Bands, Pull Up Assist Bands - Workout Bands, Eexercise Bands, Long Resistance Bands Set for Working Out, Fitness, Training, Physical Therapy for Men Women |
|
| 4 | WHATAFIT Resistance Bands, Exercise Bands,Resistance Bands for Working Out, Work Out Bands with Handles for Men and Women Fitness, Strength Training Home Gym Equipment |
|
| 5 | Pull Up Assistance Bands, 5-Level Resistance Bands for Working Out, Pull Up Bands for Men & Women, Exercise Bands for Full-Body Training, Fitness, Physical Therapy, Stretch Workout Bands at Home, Gym |
|
| 6 | Pull Up Bands, Resistance Bands, Pull Up Assistance Bands Set for Men & Women, Exercise Workout Bands for Working Out, Body Stretching, Physical Therapy, Muscle Training |
|
| 7 | Multifunction Pedal Resistance Band with Handle, Upgraded Exercise Equipment with Soft Foot Pedal for Sit Up & Full-Body Home Gym Workouts, Core/ABS Training, Pilates, Yoga & Physical Therapy |
|
| 8 | HPYGN Resistance Bands, Exercise Bands with Handles, Fitness Bands, Workout Bands with Door Anchor and Ankle Straps, for Heavy Resistance Training, Physical Therapy, Shape Body, Yoga, Home Workout Set |
|
| 9 | LEEKEY Resistance Bands, Exercise Bands with Handles,Pull Up Assist Bands - Band Set with Door Anchor - Bands for Working Out,Band for Men and Women Fitness Training,Home Workouts |
|
| 10 | 2PCS Elastic Yoga Stretching Strap with Loops, Stretch Strap for Dance, Gymnastics Stretching Ballet Dance Bands, Adjustable Stretching-Bands, Multi-Loop Exercise Bands for Pilates, Latin and Yoga |
|
What Are Resistance Bands and Why Are They So Popular?
At their core, resistance bands are simply elastic loops or strips made from latex, rubber, or fabric, designed to add tension to your movements. When we talk about thigh resistance bands, we’re typically referring to the smaller, loop-style bands often placed just above the knees or around the ankles. Their popularity has exploded for good reason! They offer a unique form of “variable resistance,” meaning the tension increases as you stretch the band, effectively engaging your muscles through a full range of motion. This constant tension is a game-changer for muscle activation and growth.
Why are they catching on like wildfire? For starters, they’re incredibly affordable and take up virtually no space, making them perfect for home workouts or travel. You can literally toss them in your bag and have a full lower body workout anywhere. More importantly, they’re highly effective. Research shows that training with resistance bands can lead to similar strength gains as traditional weights, all while being significantly easier on your joints. This makes them an excellent option for injury prevention and rehabilitation, or for anyone seeking a low-impact yet high-intensity workout.
Different Types of Thigh Resistance Bands and How to Choose the Right One
When you step into the world of thigh resistance bands, you’ll notice a few main types, each with its own quirks and benefits:
- Mini Loop Bands (Latex/Rubber): These are the most common and often come in sets with varying resistance levels (light, medium, heavy, extra-heavy). They’re typically made of latex or rubber and are great for a wide range of exercises. However, some users find they can roll up or pinch the skin during intense movements.
- Fabric Loop Bands: A fantastic alternative to latex, fabric bands are usually wider and made from a blend of cotton and elastic. They are known for being more comfortable, less prone to rolling, and incredibly durable. Many find them superior for exercises where the band is placed above the knees, especially for targeting the glutes and outer thighs.
- Power/Mobility Bands (Long Loops): While not exclusively “thigh bands,” longer loop bands can be used for leg exercises, particularly for assisted movements like pull-ups or adding resistance to squats and deadlifts by looping them under your feet and over your shoulders.
Choosing the right thigh resistance band boils down to your fitness level, sensitivity to materials, and specific goals. If you’re new, a set with varied resistance levels is a smart starting point. For maximum comfort and stability, especially for glute and thigh-focused movements, fabric loop bands are often the preferred choice among fitness enthusiasts. Remember, different colors usually signify different resistance levels – don’t be afraid to try a few to find your sweet spot!
Effective Exercises with Thigh Resistance Bands for Different Muscle Groups
Ready to put those thigh resistance bands to work? Here’s a breakdown of killer exercises that target your key lower body muscles, transforming your thighs, glutes, and hips.
Targeting Your Glutes and Hips
- Banded Lateral Walks: Place a band above your knees or around your ankles. Get into a quarter-squat position, then take small, controlled steps sideways, keeping tension on the band. This is fantastic for hip abduction and glute activation.
- Banded Glute Bridges: Lie on your back with the band above your knees, feet flat on the floor, hip-width apart. Push your knees out against the band as you lift your hips towards the ceiling, squeezing your glutes at the top.
- Clamshells: Lie on your side with knees bent and the band above your knees. Keep your feet together and lift your top knee, pushing against the band, without letting your hips roll back. Slow and controlled is key!
Sculpting Your Quadriceps
- Banded Squats: Place the band above your knees. As you squat down, actively push your knees outward, preventing them from caving in. This extra resistance forces your quads and glutes to work harder.
- X-Band Squats: Loop a long resistance band around your feet, then cross it to create an “X” shape before holding the ends over your shoulders. Perform squats, maintaining tension throughout the movement.
- Heels Elevated Resistance Band Squats: Perform banded squats with your heels slightly elevated on plates or a wedge. This shifts more emphasis onto your quadriceps, giving them an intense burn.
Strengthening Your Hamstrings
- Lying Hamstring Curls: Lie face down and loop a band around both ankles, anchoring one foot. Curl the other heel towards your glute, engaging your hamstring.
- Standing Single-Leg Hamstring Curls: Loop a band around your ankles, anchor one foot, and stand tall. Slowly curl your free heel towards your glute. This also challenges your balance and stability.
- Banded Romanian Deadlifts (RDLs): Stand on a long resistance band, holding the ends. Hinge at your hips, keeping a slight bend in your knees, feeling the stretch in your hamstrings. This is a fantastic posterior chain builder.
Toning Inner and Outer Thighs
- Banded Abductions (Side-Lying Leg Lifts): Lie on your side with the band around your ankles. Keeping your leg straight, lift your top leg towards the ceiling against the band’s resistance.
- Plié Squat Press-Backs: With the band above your knees, assume a wide stance with toes pointed slightly out. Perform a plié squat, and at the bottom, press your knees out against the band, then push back up.
- Curtsy Lunges: Place the band above your knees. Step one leg back and across behind the other, as if performing a curtsy. The band adds resistance to the abductors and glutes.
Tips to Maximize Workout Effectiveness and Avoid Injury
To truly get the most out of your thigh resistance bands and keep yourself safe, consider these expert tips. “Proper form is paramount, especially when adding resistance,” advises Dr. Elena Rodriguez, Certified Strength & Conditioning Specialist. “Always prioritize controlled movements over speed, and actively engage the muscles you intend to work.”
- Focus on Form: This cannot be stressed enough. When performing squats or lunges with a band above your knees, always push your knees out to prevent them from caving inwards (knee valgus), which can lead to injury.
- Slow and Controlled Movements: Resistance bands offer continuous tension, so don’t just snap back. Control both the eccentric (lowering) and concentric (lifting) phases of each exercise to maximize muscle engagement.
- Warm-Up Adequately: Always start with a dynamic warm-up. A few minutes of light cardio followed by some banded squats (band above knees) or leg swings can properly prepare your muscles.
- Listen to Your Body: While some muscle burn is good, sharp pain is a warning sign. Adjust the band resistance or your form if you feel discomfort.
- Progressive Overload: As you get stronger, challenge yourself by moving to a band with higher resistance, increasing your repetitions, or adding more sets. You can also combine bands for even greater challenge.
- Combine with Other Modalities: Resistance bands can complement bodyweight exercises, free weights, or even machine workouts. Use them for activation before heavy lifts or as a “finisher” to exhaust your muscles.
Benefits of Training with Thigh Resistance Bands for Health and Fitness
The advantages of incorporating thigh resistance bands into your routine extend far beyond just looking good. These unassuming tools offer a plethora of benefits for your overall health and fitness:
- Targeted Muscle Activation: They excel at activating specific lower body muscles, including often-neglected smaller stabilizing muscles in the hips and glutes. This improved activation can translate to better performance in other exercises.
- Enhanced Stability and Mobility: By engaging these stabilizing muscles, bands can significantly improve your hip stability, balance, and overall range of motion, reducing your risk of falls and improving athletic performance.
- Joint-Friendly Workouts: Unlike heavy weights that can put significant stress on joints, resistance bands provide effective resistance with minimal impact, making them ideal for individuals with joint issues or those recovering from injuries.
- Increased Strength and Muscle Definition: The constant tension provided by bands effectively challenges your muscles, promoting both strength gains and muscle hypertrophy (growth), leading to more toned and defined thighs and glutes.
- Convenience and Portability: Their lightweight and compact nature means you can maintain your fitness routine anywhere, anytime – at home, in a park, or while traveling.
- Cost-Effective Fitness: Resistance bands are a budget-friendly way to equip your home gym, offering diverse workout possibilities without a hefty investment.
- Improved Functional Strength: The movements you perform with bands often mimic real-life actions, building functional strength that helps with daily activities like climbing stairs or carrying groceries.
How to Integrate Thigh Resistance Bands into Your Daily Workout Routines
Integrating thigh resistance bands into your fitness regimen is straightforward and highly effective.
- Warm-up Activation: Start your leg days with 5-10 minutes of banded exercises like lateral walks, glute bridges, or banded squats to “wake up” your glutes and hips, ensuring they are firing optimally for your main workout.
- Standalone Workouts: Design entire lower body sessions using just your resistance bands. This is perfect for days when you’re short on time, traveling, or prefer to work out at home.
- Supersets and Finishers: Pair a banded exercise with a bodyweight or free weight exercise (e.g., squats followed by banded lateral walks) to amplify intensity and muscle fatigue. Use them as a “finisher” at the end of a workout to truly exhaust your muscles.
- Rehabilitation and Prehabilitation: Under guidance from a professional, bands are excellent for strengthening weak areas and preventing future injuries, especially around the knees and hips.
Frequently Asked Questions about Thigh Resistance Bands
Q: Are thigh resistance bands as effective as weights for building muscle?
A: Yes, numerous studies show that resistance bands can be just as effective as free weights or machines for building muscle and strength, especially when focusing on specific muscle activation and stabilizer muscles.
Q: How many resistance bands do I need?
A: It’s best to start with a set of 2-3 bands offering light, medium, and heavy resistance. This allows you to progress as you get stronger and ensures you have the right tension for different exercises.
Q: Can resistance bands help with cellulite on my thighs?
A: While bands don’t directly eliminate cellulite, building muscle and reducing body fat through consistent exercise and a healthy diet can improve skin appearance and make cellulite less noticeable.
Q: Where should I place the band for thigh exercises?
A: For most thigh-focused exercises, placing the band just above your knees is common as it targets the glutes and outer thighs effectively. For some exercises, like hamstring curls or side-lying leg lifts, placing the band around your ankles might be more appropriate.
Q: What’s the difference between fabric and latex resistance bands?
A: Latex bands are typically thinner and can sometimes roll or pinch the skin. Fabric bands are wider, more comfortable, less prone to rolling, and generally more durable, making them a popular choice for thigh and glute workouts.
Q: Can beginners use thigh resistance bands?
A: Absolutely! Resistance bands are excellent for beginners because they provide a safe, effective way to learn proper form and build foundational strength before progressing to heavier weights. Start with lighter resistance and focus on control.
Q: How often should I work out my thighs with resistance bands?
A: For optimal results, aim for 2-4 lower body resistance band workouts per week, allowing at least one day of rest in between sessions for muscle recovery and growth.
The Journey to Stronger Thighs Starts Now!
There you have it! Thigh resistance bands are truly a powerhouse tool in the fitness world, offering a convenient, effective, and joint-friendly way to sculpt powerful, toned lower bodies. From boosting glute activation to strengthening your quads and hamstrings, these versatile bands provide endless possibilities for enhancing your workouts. So, grab a band, experiment with the exercises, and start feeling the burn. Embrace the journey to stronger, more resilient thighs – your body will thank you for it!